Archive | Original Recipe RSS feed for this section

Homemade Vanilla Almond Milk

4 Mar

Almond-Complete

I was always curious about the hype surrounding almond milk, but was hesitant to try the store-bought milks because they contain fillers and other junk that I prefer to avoid. As is usually the case, I was left with no choice but to try to make my own. After tasting the outcome, I can see why everyone is up in arms about almond milk. It’s rich, sweet, nutty and just all around delicious. Not to mention really fun to make!

I researched how to make your own nut milk and I found that the nut to milk ratio was pretty much always the same. I did try different combinations of sweeteners and I found that stevia was much too strong and you can’t really achieve a smooth texture with sucanat. Maple syrup alone wasn’t sweet enough, so I added dates.

A few other things I learned are that you should use vanilla extract that doesn’t contain alcohol. If your extract contains alcohol it will give your milk a distinct alcohol aftertaste that isn’t very pleasant. This is because you’re not cooking out the alcohol. I was able to find vanilla extract without alcohol at Trader Joe’s. Another thing I found helpful was to heat the dates in the microwave for 10 seconds which made them nice and soft.

You will need to stir the milk before use.

Ingredients:
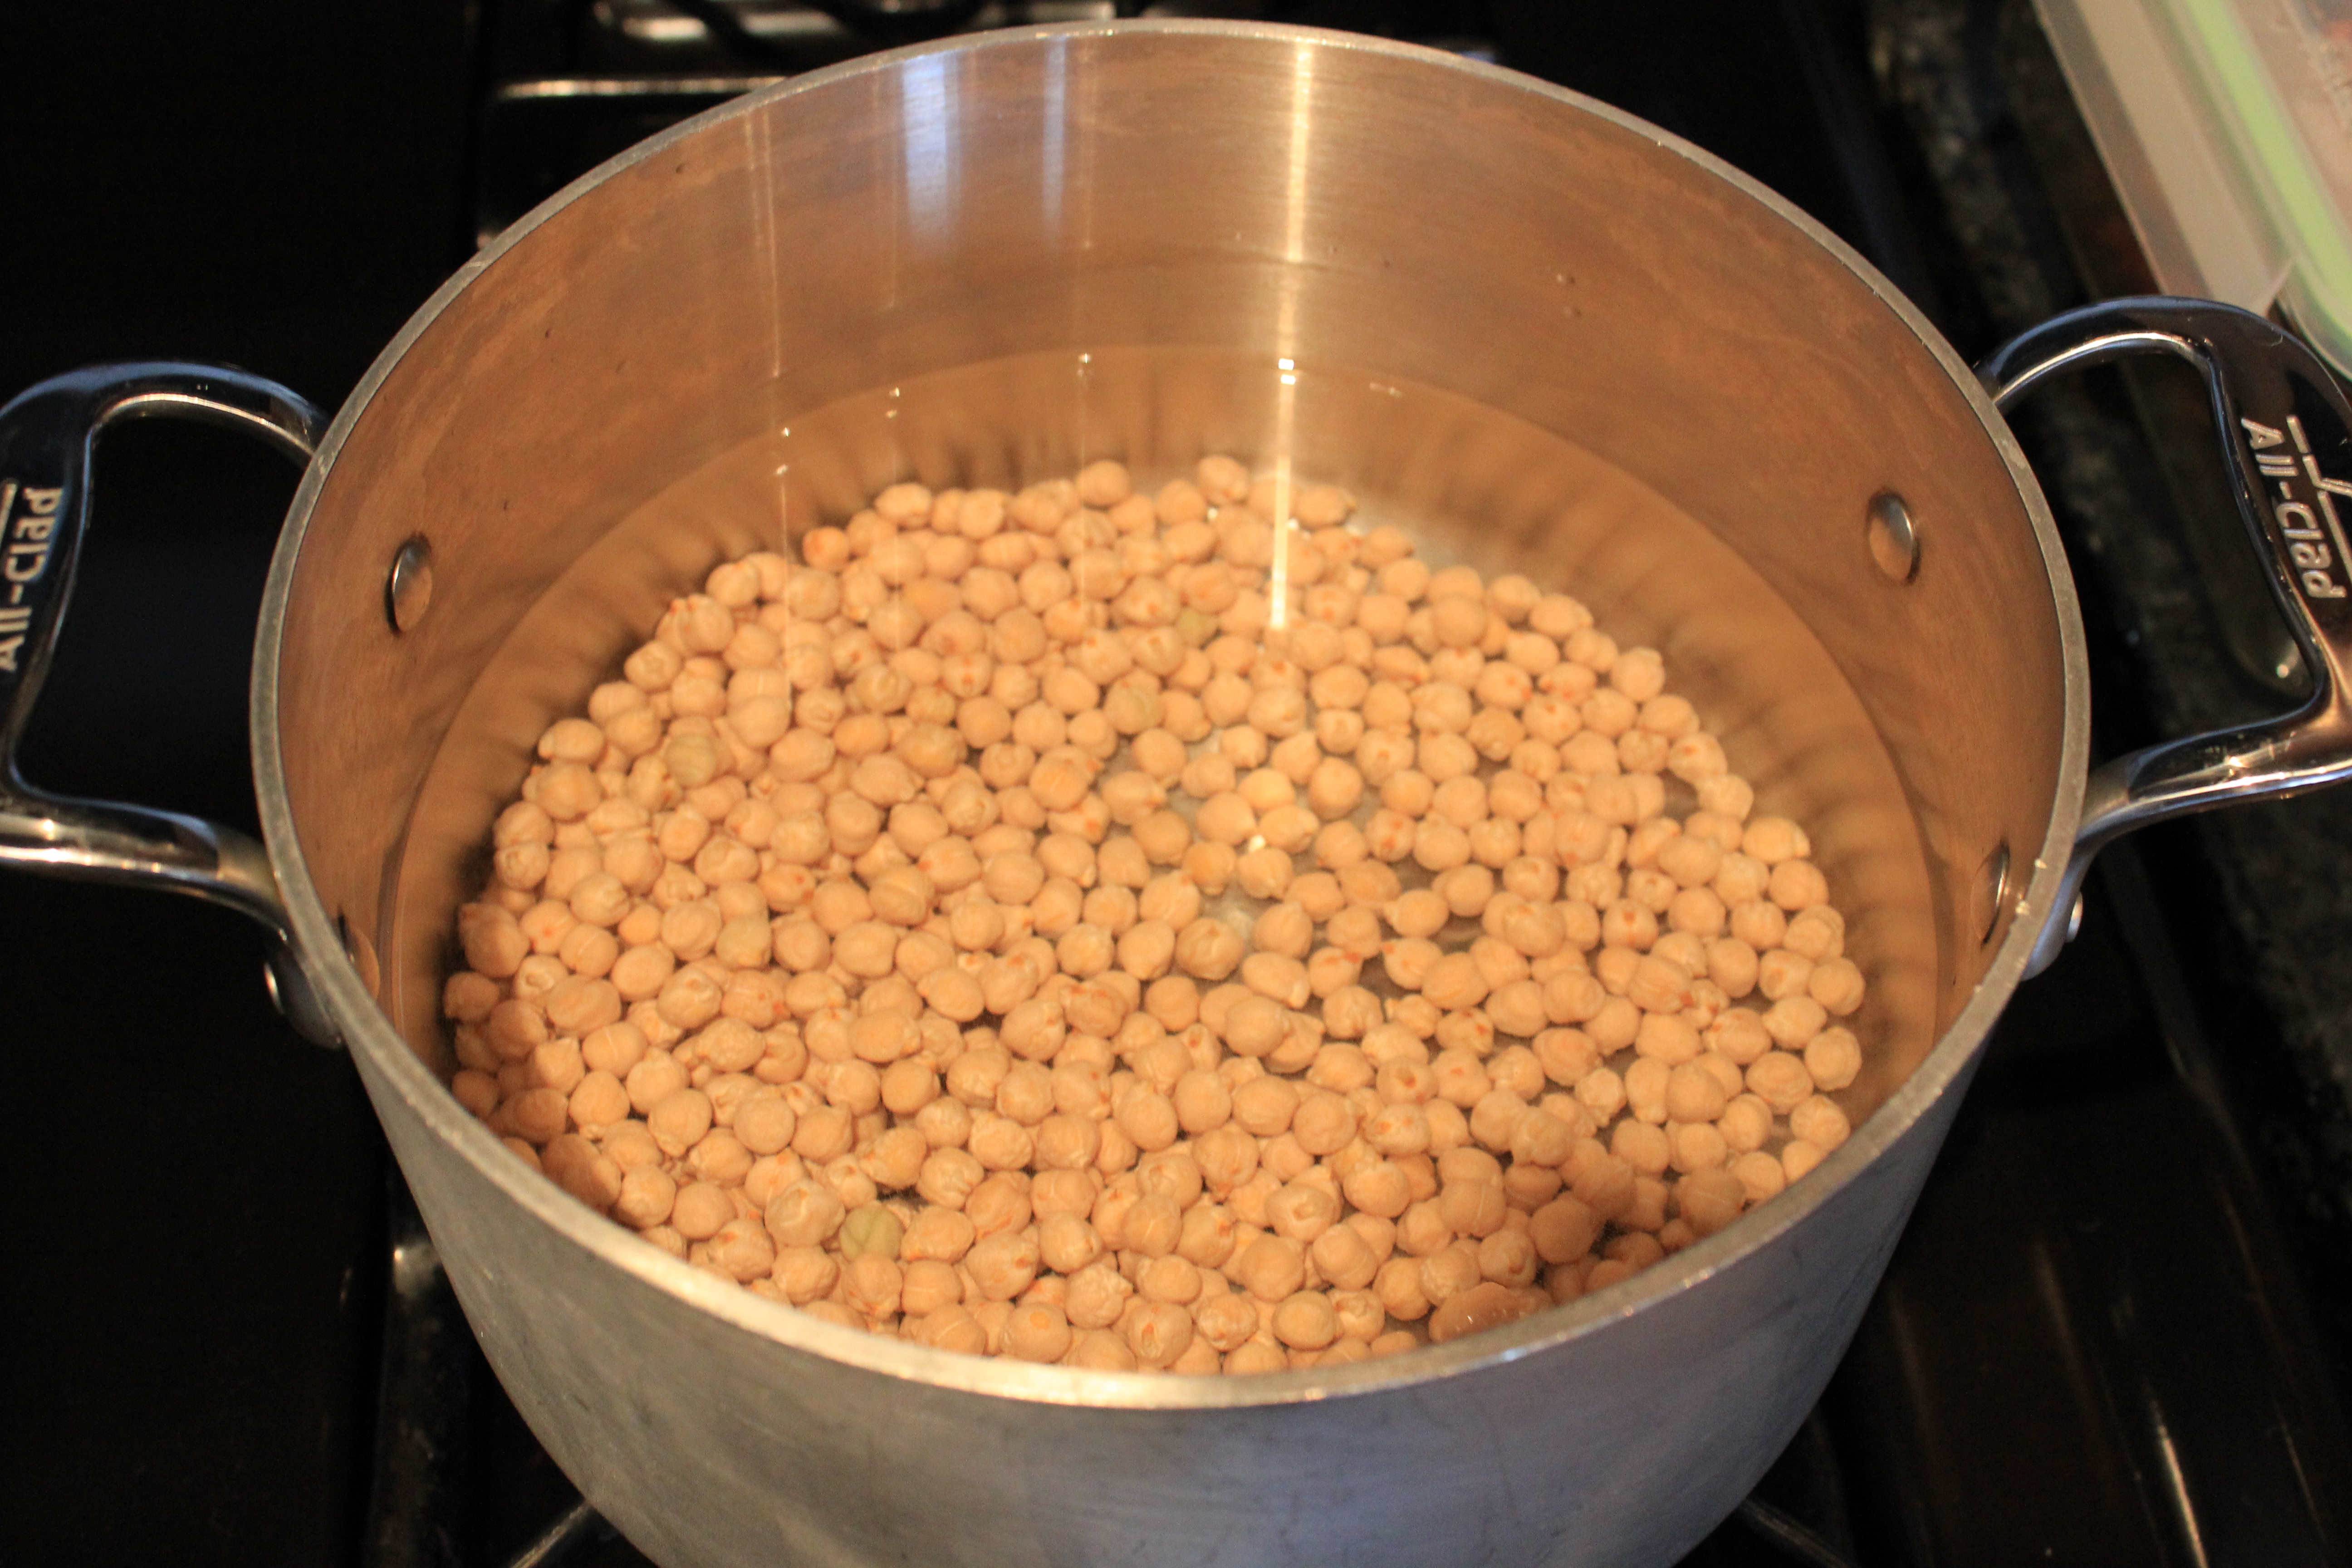
1 cup almonds, soaked for a minimum of 6 hours
4 cups filtered water
2 tbsp maple syrup
2 tsp pure vanilla extract
4 dates, softened

Directions:

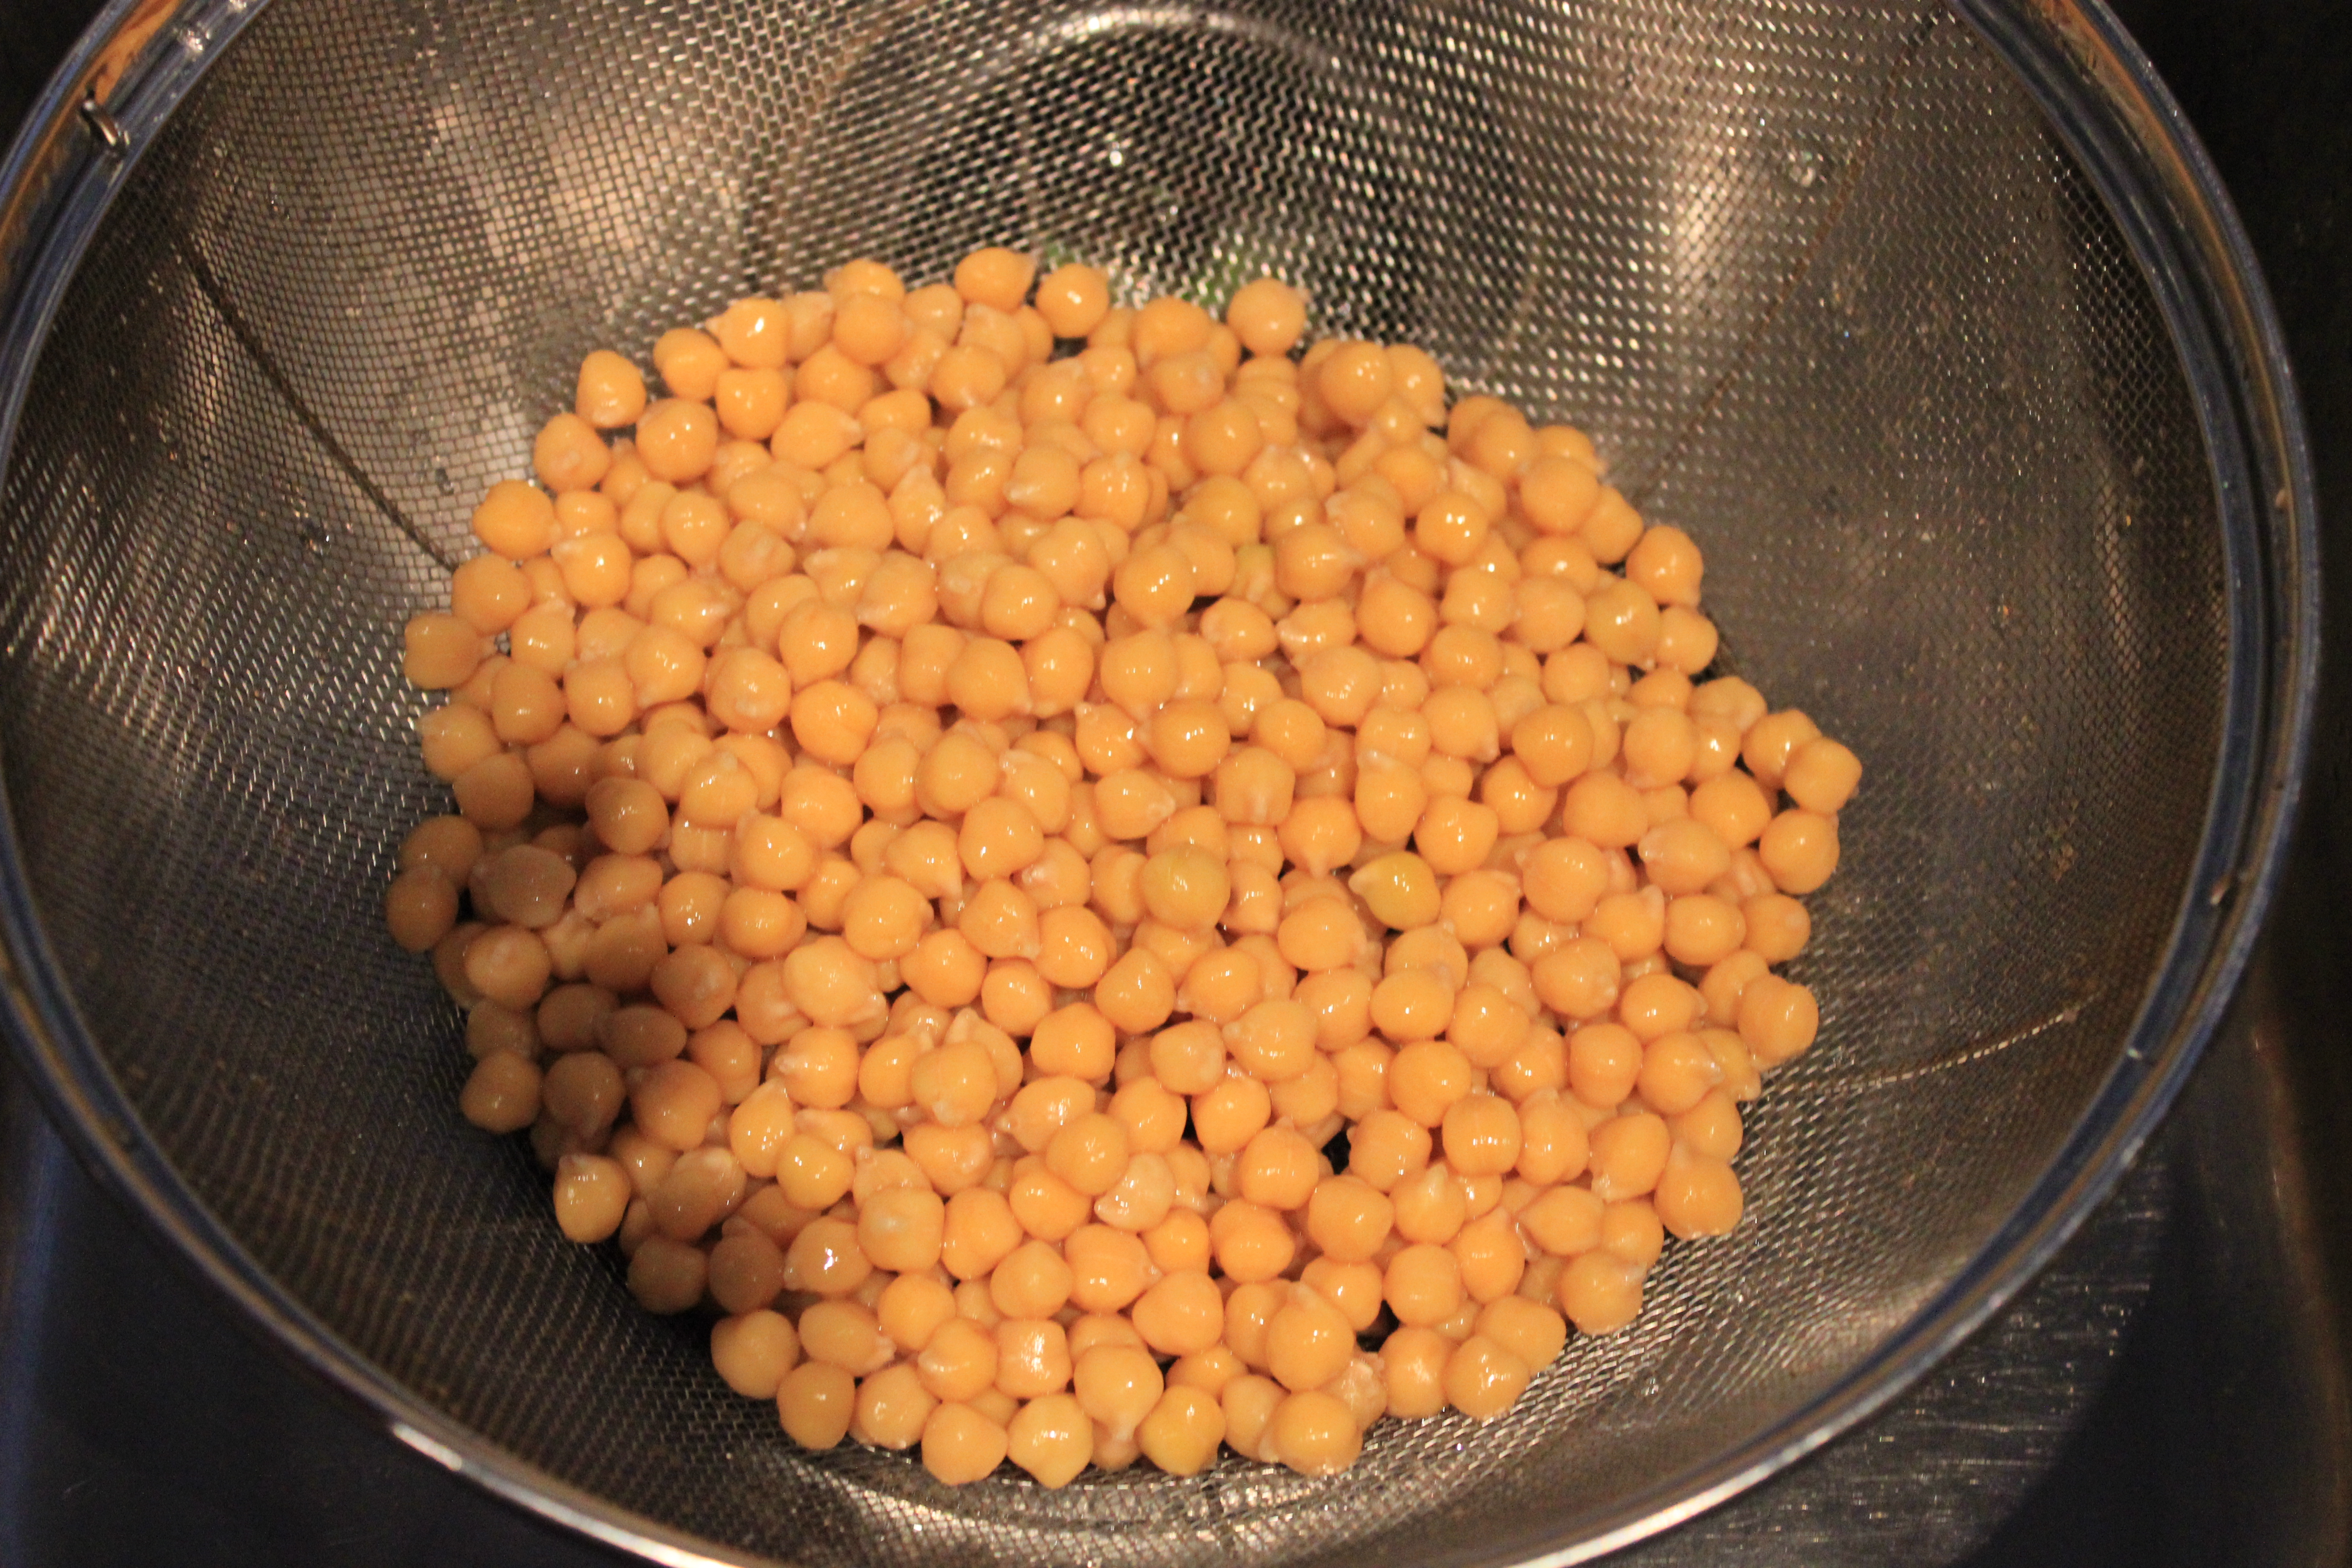
  1. Drain soaked almonds and discard soaking water
  2. Combine almonds and water in a blender and blend until well combined
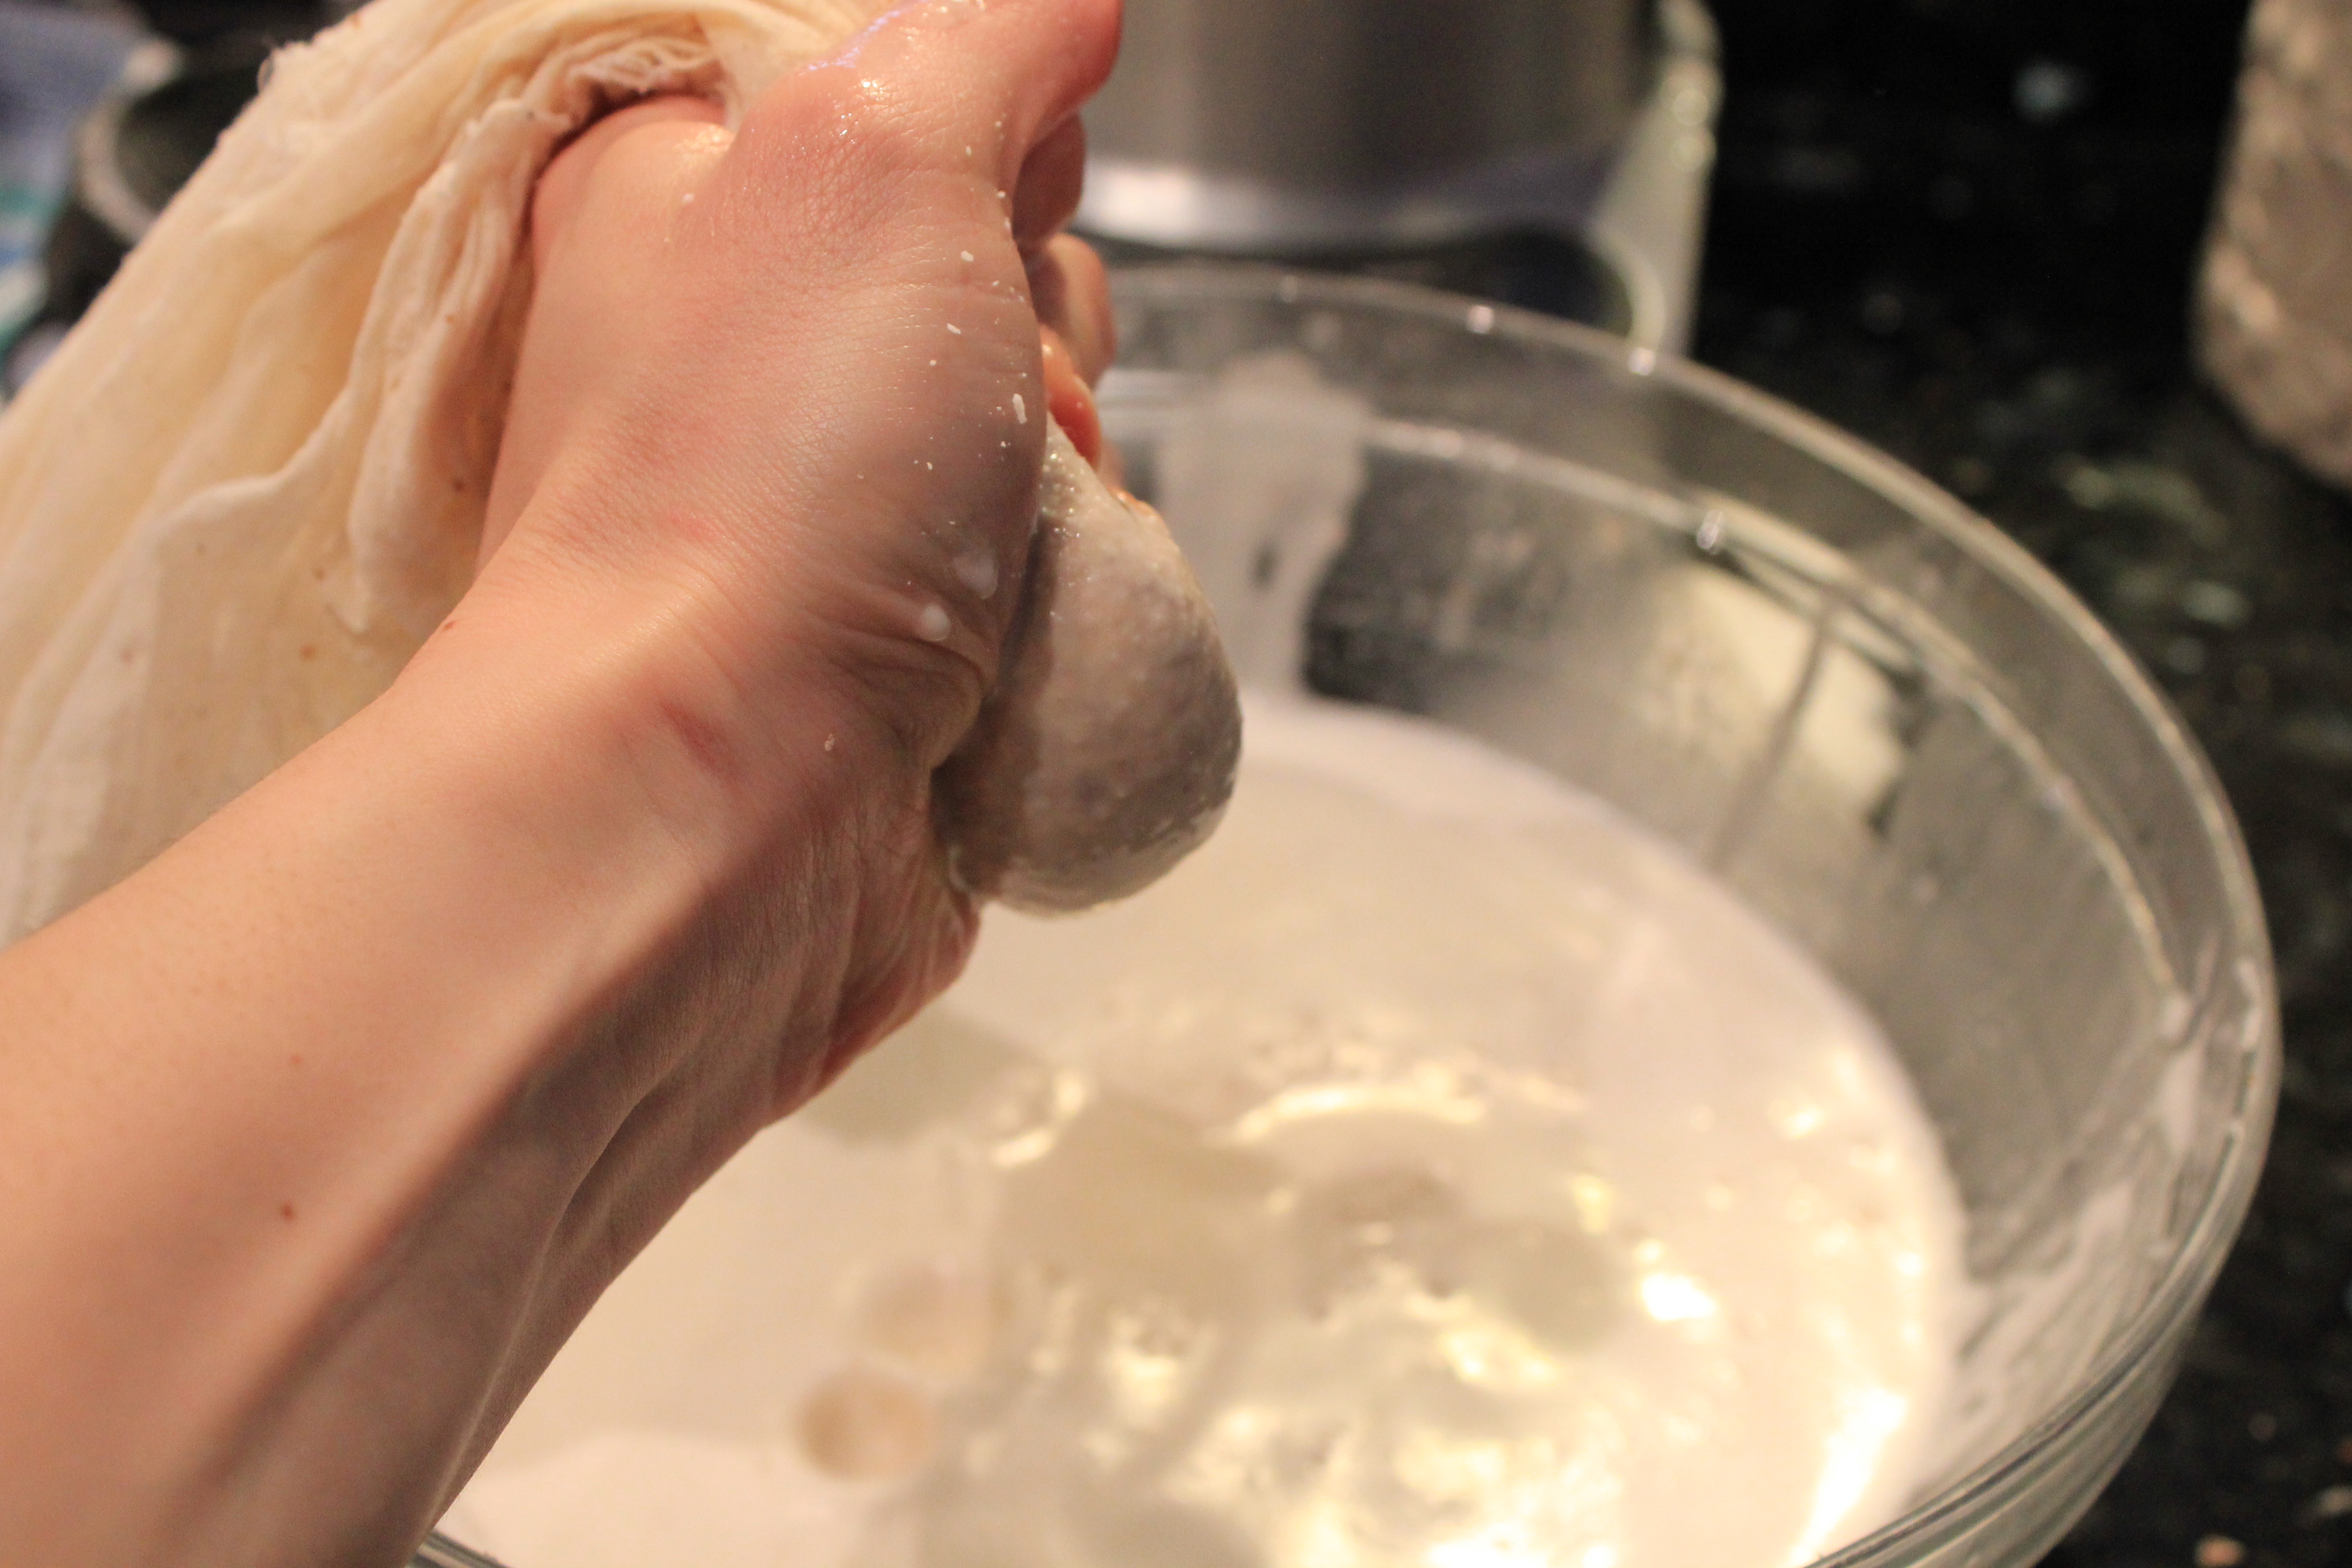
  3. Strain the almond water mixture in a cheese cloth or nut bag. Squeeze all the liquid out of the cloth or bag so you will be left with a clay like ball of almonds
  4. Return the strained liquid back to the blender and add in the dates, vanilla and maple syrup. Blend until the dates are well combined into the liquid.

Almond-Straining

Almond-Squeezing

As always, enjoy!

Grilled Vegetable Hummus Wrap

1 Mar

IMG_9229

This recipe came about after a dear friend and I had horrible grilled vegetable hummus wraps. Actually, I should say alleged grilled vegetable hummus wraps. Our wraps were composed of previously frozen carrots and broccoli and maybe a tablespoon of hummus. We were so disappointed that I decided to take matters into my own hands and make my own! I grilled some vegetables, whipped up some hummus and voila, everything for real grilled vegetable hummus wraps!

Let’s talk a little about nutritional yeast. If you’re not already a vegetarian or vegan then this ingredient may seem a little, well weird. For non-meat eaters, nutritional yeast is an excellent source of the vitamin B-12. Since B-12 is primarily only found in meat, we need to find alternative sources of this very important vitamin. So, it’s nutritional yeast to the rescue! The flavor of nutritional yeast is not at all like the taste of common bread yeast. It has a very creamy texture and a cheesy flavor. It’s really is quite delicious.

Ingredients
1 Ezekiel 4:9 Tortilla
Mix of grilled vegetables (red peppers, zucchini, red onions and carrots)
2 tbsp hummus
1/8 cup sprouts
1/2 avocado
1 tbsp nutritional yeast

Directions

  1. Spread the hummus onto the tortilla
  2. Add vegetables, avocado, sprouts and nutritional yeast
  3. Enjoy!

Strawberry-Mango Green Smoothie

28 Feb

GreenSmoothie

I start every morning off with some version of a green smoothies. They are filling, nutritious and I feel like I’m doing something really good for myself. The beauty of smoothies is that there you have a lot of freedom to do what you want with them. You can use fresh or frozen fruit and different fruit combinations. Honestly, with all the amazing fruit flavors you would never suspect that there is tofu in this shake.

Ingredients
makes 2 servings
1/2 cup fresh or frozen strawberries
1/2 cup fresh or frozen mango
1 banana
4 cups kale
1/2 cup silken tofu
13/4 cup steeped green tea
2 tbsp chia seeds
2 packets stevia
4 ice cubes (optional)

Directions

  1. Place all the ingredients, except the steeped green tea and chia seeds into a blender
  2. Steep the green tea for 2-3 minutes and remove the tea bag
  3. Sprinkle the chia seeds into the green tea and let steep for 10-15 minutes
  4. Add the ice to the warm green tea and chia seeds to help cool down the temperature
  5. Pour the tea and seed mixture into the blender and blend
  6. Enjoy!

Hummus

27 Feb

Humus

I love hummus. Like LOVE it. I could eat it all day with anything and everything. It’s well worth the work to make homemade hummus because it is so much better than store bought. Once you make it yourself, you’ll never go back!

I feel like the key to good hummus, or anything involving beans is to use dried beans. It’s definitely more work then using canned beans, but the flavor and texture is so much better. When I decide to make something with beans it’s usually last minute and limited time to prepare the beans. So, I always use the “quick cook” method.

Here’s a step-by-step on how to quick cook beans.

Pick over the dried chick peas and remove any wrinkled or cracked beans and stones.

Beans-Soak1

Rinse the beans and put in a saucepan and cover the beans with water plus 2 inches. Cover and bring to a boil. Boil for 2-3 minutes then remove the pot from the heat and let the beans sit, covered for 1 hour.

Beans-Rinse1

After an hour, drain the beans and rinse with cool water.

Beans-Soak2

Put the rinsed beans back into the saucepan and cover with cool water plus 2 inches. Cover and bring to a boil. Boil for 2-3 minutes, then reduce to a simmer for 1 1/2 hours. Drain the cooked beans and let cool. Once cool, they’re ready for hummus!

For the Hummus:

Ingredients:
2 Cups cooked chick peas
4-6 Cloves garlic (you can adjust based on your taste)
1/4 Cup tahini paste
Juice of 1 1/2 lemon
3 tbsp Olive oil
2 tbsp Paprika

Directions:

  1. Place garlic in a food processor fitted with an S blade and pulse for about 10 seconds
  2. Add the remaining ingredients and process until you get a smooth paste

Hummus-done-closeup

Enchilada Casserole

25 Feb

IMG_9191

Ever since I came up with this delicious enchilada casserole it has quickly become a favorite in our house. It’s super easy and incredibly delicious.  Restaurant worthy, if I do say so myself 🙂

Ingredients:
1 14 oz. can diced fire roasted tomatoes with green chilis
1 8 oz. can Tomato Sauce
1 Red Bell Pepper
1 Package Upton’s Natural Chroizo Seitan
1 Tbsp. Chili Powder
1 Tbsp. Coriander
1 Tbsp. Cumin
1 Onion, chopped
2 Cloves garlic, minced
1 Jalapeño, stemmed, seeded and minced
2 Tbsp. Adobo Sauce
1 Tbsp. Olive Oil
1 1/2 Cup Cheddar Cheese, shredded
3/4 Cup Vegetable broth
3 Ezekiel 4:9 Tortillas
Salt and Pepper to taste
Guacamole & Sour Cream for toppings

Directions:

  1. Preheat the oven to 400o
  2. For the sauce: Heat the olive oil in a skillet over medium heat. Cook the onion and bell pepper until soft. Add the garlic and jalapeño to the pan and sauté until fragrant.
  3. Stir in the chili powder, coriander and cumin, coating the onion mixture. Stir in the tomatoes, tomato sauce and adobo sauce to the vegetable mixture. Add the vegetable broth a little at a time to thin the sauce out. Add the seitan, salt, pepper and cook the sauce for 10 minutes or until boiling.
  4. Coat the bottom of a casserole dish with a thin layer of sauce. Place one tortilla on top of the sauce and layer with another layer of sauce and a sprinkling of cheese. Continue this process until you have used all the tortillas.
  5. Place the casserole dish on a lined baking sheet and loosely cover the casserole dish with tin foil and bake for 20 to 25 minutes until the cheese is melted.
  6. Let the casserole cool for 5 minutes. Cut and serve with guacamole and sour cream.

If you choose to substitute meat for seitan, I would add it with spice mixture. This way you can cook the meat and it will have time to absorb all the yummy spices.